Submission
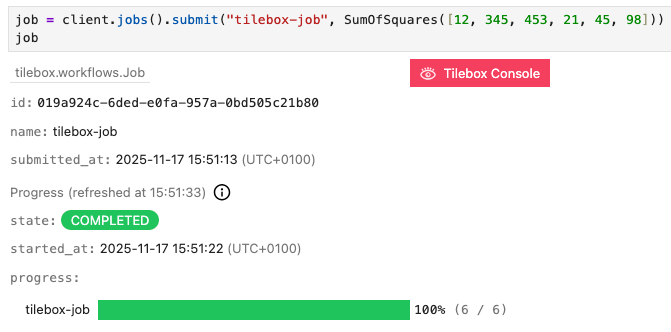
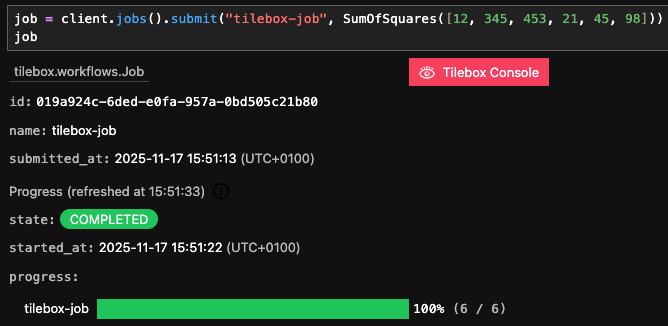
To execute a task, it must be initialized with concrete inputs and submitted as a job. The task will then run within the context of the job, and if it generates sub-tasks, those will also execute as part of the same job. After submitting a job, the root task is scheduled for execution, and any eligible runner can pick it up and execute it. First, instantiate a job client by calling thejobs method on the workflow client.
Retry Handling
Tasks support retry handling for failed executions. This applies to the root task of a job as well, where you can specify the number of retries using themax_retries argument of the submit method.
MyFlakyTask fails, it will be retried up to five times before being marked as failed.
Submitting to a specific cluster
Jobs default to running on the default cluster. You can specify another cluster to run the root task on using thecluster argument of the submit method.
Querying jobs
You can query jobs in a given time range using thequery method on the job client.
Retrieving a specific job
When you submit a job, it’s assigned a unique identifier that can be used to retrieve it later. You can use thefind method on the job client to get a job by its ID.
States
Every Job is always in exactly one of the following states:The Job hasn’t started yet, all it’s tasks are queued and it wasn’t canceled by the user.
At least one task of the job is currently running.
The job has started, some tasks are already
COMPUTED, but others are still QUEUED, waiting for an eligible runner to pick them up. However no task is currently RUNNING.The job has successfully completed. Every task of the job succeeded and is
COMPUTED.At least one task of the job has failed, causing the execution of the remaining tasks to be halted. You can retry the job to resume execution from the point of failure.
The job was canceled upon user request. You can retry the job to resume execution from the point of cancellation.
state field.
Output
Visualization
Visualizing the execution of a job can be helpful. The Tilebox workflow orchestrator tracks all tasks in a job, including sub-tasks and dependencies. This enables the visualization of the execution of a job as a graph diagram.display is designed for use in an interactive environment such as a Jupyter notebook. In non-interactive environments, use visualize, which returns the rendered diagram as an SVG string.Visualization isn’t supported in Go yet.


- The root task,
MyTask, has been executed, is marked asCOMPUTEDand submitted three sub-tasks. - At least three runners are available, as three tasks currently are executed simultaneously.
- The
SubTaskthat is still executing has not generated any sub-tasks yet, as sub-tasks are queued for execution only after the parent task finishes and becomes computed. - The queued
DependentTaskrequires theLeafTaskto complete before it can be executed.
Job visualizations are meant for development and debugging. They are not suitable for large jobs with hundreds of tasks, as the diagrams may become too complex. Currently, visualizations are limited to jobs with a maximum of 200 tasks.
Customizing Task Display Names
The text representing a task in the diagram defaults to a tasks class name. You can customize this by modifying thedisplay field of the current_task object in the task’s execution context. The maximum length for a display name is 1024 characters, with any overflow truncated. Line breaks using \n are supported as well.


Cancellation
You can cancel a job at any time. When a job is canceled, no queued tasks will be picked up by runners and executed even if runners are idle. Tasks that are already being executed will finish their execution and not be interrupted. All sub-tasks spawned from such tasks after the cancellation will not be picked up by runners. Use thecancel method on the job client to cancel a job.
A canceled job can be resumed at any time by retrying it.
Retries
If a task fails due to a bug or lack of resources, there is no need to resubmit the entire job. You can simply retry the job, and it will resume from the point of failure. This ensures that all the work that was already done up until the point of the failure isn’t lost.Future releases may introduce automatic retries for certain failure conditions, which can be useful for handling temporary issues.
PrintMovieStats task.


PrintMovieStats tasks fails with a KeyError. This error occurs when a movie title is not found by the OMDb API, leading to a response without the Title and Released fields.
Task logs from the runners confirm this:
Logs
PrintMovieStats is as follows:
PrintMovieStats implementation, you can retry the job:


Logs
The logs confirm that only two tasks were executed, resuming from the point of failure instead of re-executing all tasks.