This feature is only available in the Python SDK.
Creating Cron tasks
Cron tasks run repeatedly on a specified cron schedule.
To create a Cron task, use tilebox.workflows.automations.CronTask as your tasks base class instead of the regular tilebox.workflows.Task.
from tilebox.workflows import ExecutionContext
from tilebox.workflows.automations import CronTask

class MyCronTask(CronTask):
    message: str

    def execute(self, context: ExecutionContext) -> None:
        print(f"Hello {self.message} from a Cron Task!")
        # self.trigger is an attribute of the CronTask class,
        # which contains information about the trigger event
        # that caused this task to be submitted as part of a job
        print(f"This task was triggered at {self.trigger.time}")
Registering a Cron trigger
After implementing a Cron task, register it to be triggered according to a Cron schedule.
When the Cron expression matches, a new job is submitted consisting of a single task instance derived from the Cron task prototype.
from tilebox.workflows import Client

client = Client()
automations = client.automations()
cron_automation = automations.create_cron_automation(
    "my-cron-automation",  # name of the cron automation
    MyCronTask(message="World"),  # the task (and its input parameters) to run repeatedly
    cron_schedules=[
        "12 * * * *",  # run every hour at minute 12
        "45 18 * * *",  # run every day at 18:45
        "30 13 * * 3",  # run every Wednesday at 13:30
    ],
)
Starting a Cron Task Runner
With the Cron automation registered, a job is submitted whenever the Cron expression matches. But unless a task runner is available to execute the Cron task the submitted jobs remain in a task queue.
Once an eligible task runner becomes available, all jobs in the queue are executed.
from tilebox.workflows import Client

client = Client()
runner = client.runner(tasks=[MyCronTask])
runner.run_all()
Hello World from a Cron Task!
This task was triggered at 2023-09-25 16:12:00
Hello World from a Cron Task!
This task was triggered at 2023-09-25 17:12:00
Hello World from a Cron Task!
This task was triggered at 2023-09-25 18:12:00
Hello World from a Cron Task!
This task was triggered at 2023-09-25 18:45:00
Hello World from a Cron Task!
This task was triggered at 2023-09-25 19:12:00
Inspecting in the Console
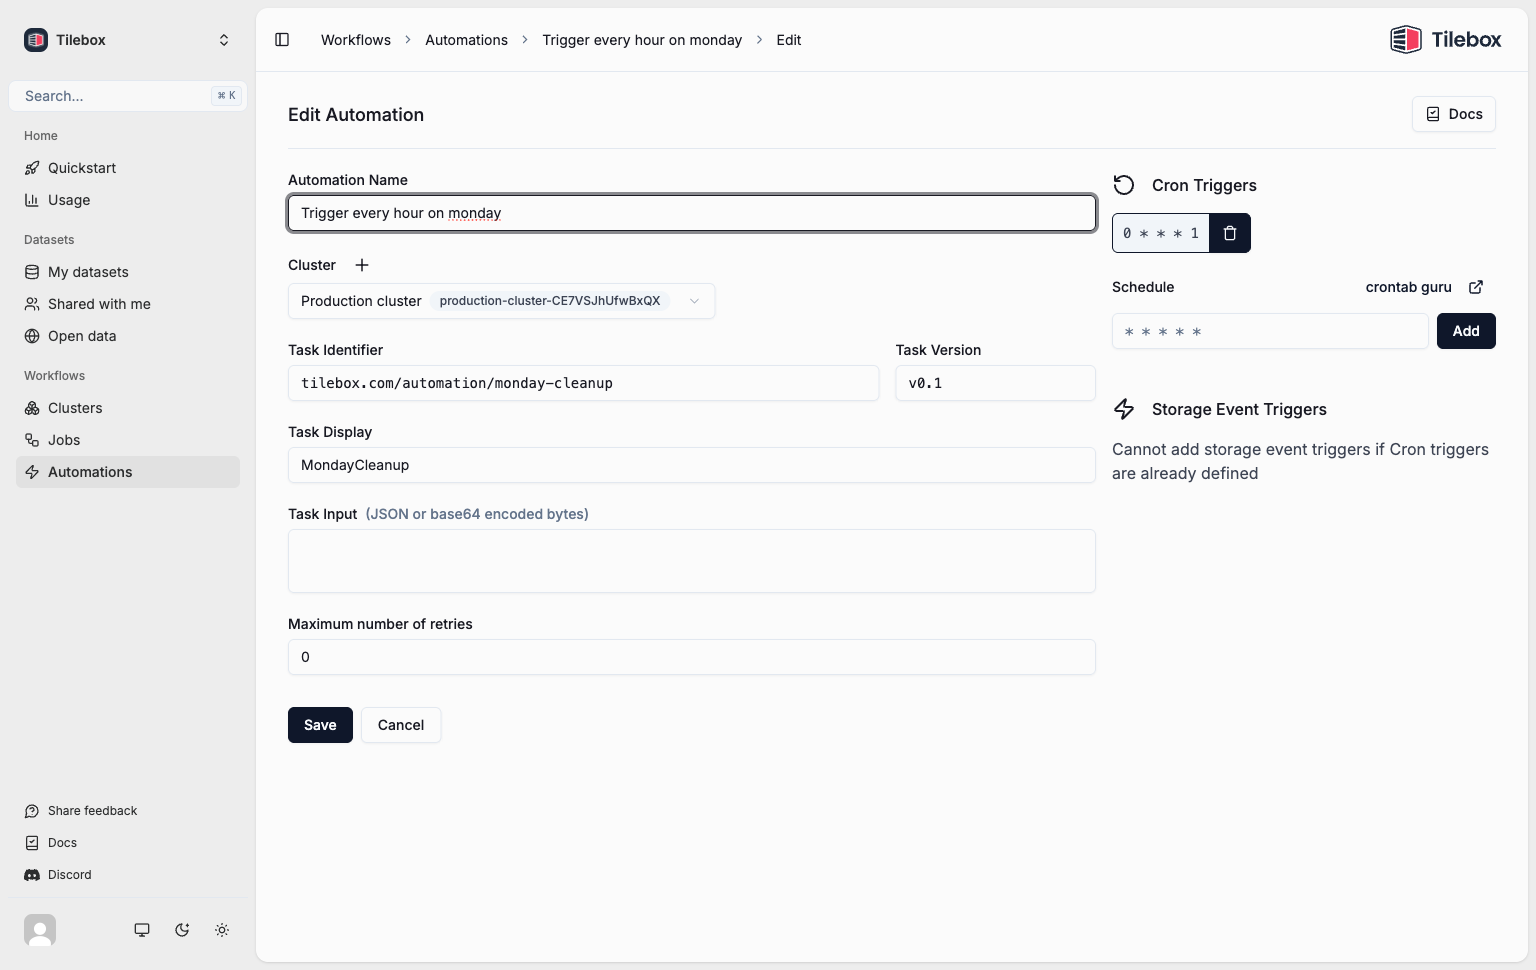
The Tilebox Console provides a straightforward way to inspect all registered Cron automations.
Use the console to view, edit, and delete the registered Cron automations.
Deleting Cron automations
To delete a registered Cron automation, use automations.delete. After deletion, no new jobs will be submitted by that Cron trigger. Past jobs already triggered will still remain queued.
from tilebox.workflows import Client

client = Client()
automations = client.automations()

# delete the automation as returned by create_cron_automation
automations.delete(cron_automation)

# or manually by id:
automations.delete("0190bafc-b3b8-88c4-008b-a5db044380d0")
Submitting Cron jobs manually
You can submit Cron tasks as regular tasks for testing purposes or as part of a larger workflow. To do so, instantiate the task with a specific trigger time using the once method.
Submitting a job with a Cron task using once immediately schedules the task, and a runner may pick it up and execute it. The trigger time set in the once method does not influence the execution time; it only sets the self.trigger.time attribute for the Cron task.
from datetime import datetime, timezone

job_client = client.jobs()

# create a Cron task prototype
task = MyCronTask(message="Hello")

# submitting it directly won't work: raises ValueError:
# job_client.submit("manual-cron-job", task)

# instead trigger a cron task with the current time as the trigger time
job_client.submit("manual-cron-job", task.once())

# or specify a trigger time in the past or future
# irrespective of the trigger time, the task will always be scheduled to run immediately
job_client.submit(
    "manual-cron-job",
    task.once(datetime(2030, 12, 12, 15, 15, tzinfo=timezone.utc))
)

